The making of a Pirate Ship Cake
February 2012
One of my favorite elements of my son Benjamin's first birthday party, was his Pirate Boat Smash Cake. When we were planning his party, the smash cake was at the top of the list. We wanted something unique and tied in to the theme. We had found several different boat cakes and started making our own sketches.
The week before the party, we went to our local Kroger grocery store. To save us time, we ordered a half sheet cake undecorated in marble. If your a little more confident than I was, a 1/4 sheet cake would work as well. They let our son taste the different icings - buttercream and whipped, so we would know what he preferred.
The day before his party, we picked up the cake. The cashier looked at us funny and even questioned if we knew we were buying a cake that wasn't decorated. We knew exactly what we were doing.
We got home with our cake that would soon turn into a masterpiece only to be destroyed by our soon to be 1 year old. Since he preferred the buttercream frosting, I followed the Wilton buttercream icing recipe. I made a couple of batches so that I would have enough, especially with adding color. I mixed 1 larger bowl in brown, small bowl each of a lime green and light blue.
Since we were going to be putting the cake onto the high chair tray, we purchased cake board and cut it down so that it would fit into the tray. You could always use a very sturdy piece of cardboard.
I took the sheet cake and cut it into thirds.
I took 1 of the rectangles and cut it into thirds again. I pulled the center part out and put it to the side. The back 3rd, I cut it at an angle to use on the back of the ship. I used the green frosting and squeezed it onto my newly shaped squares to stack on top of my base. Be careful not to spread it to close to the edges so it doesn't run out.
Now that the front and back part of my ship was stacked, I gently cut the front pieces on each side to make a slight point. So far, my cake was looking just like a ship.
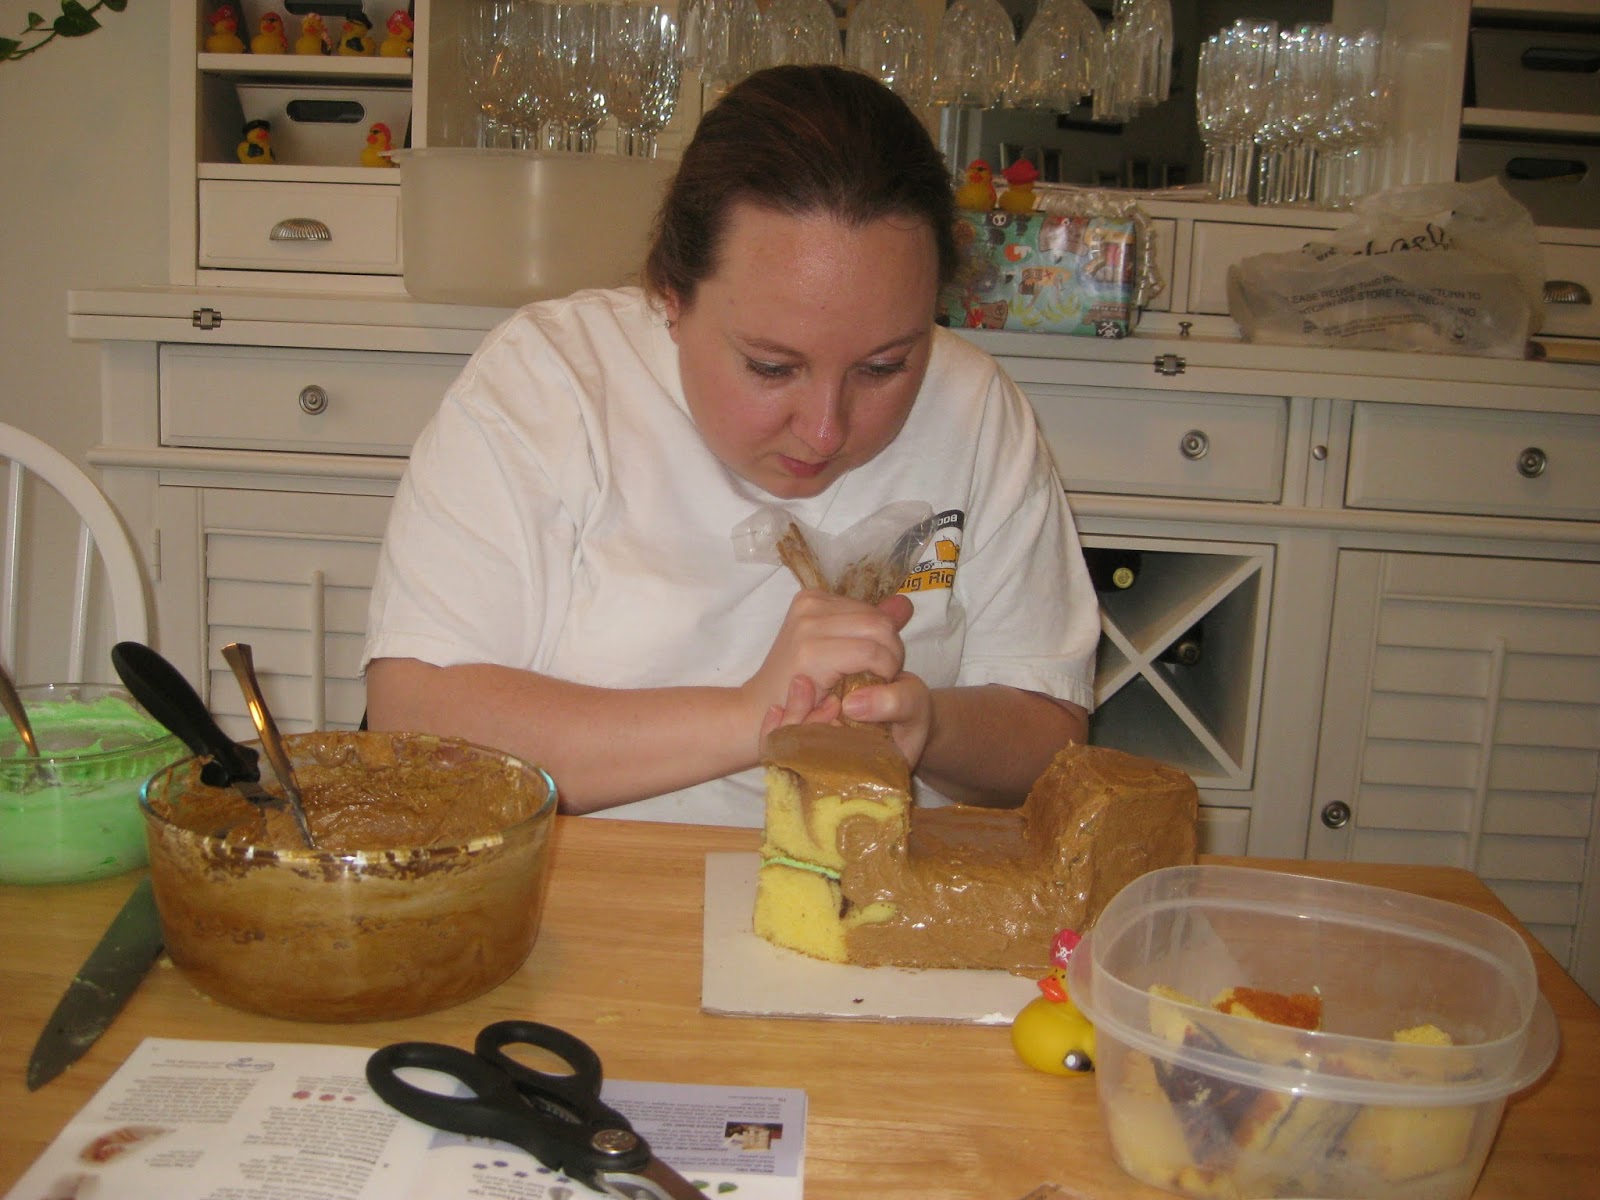
I moved my newly formed boat onto the cut cake board. Now the real fun begins. I pulled out the brown icing and started to cover the boat. To make it a little easier, I put the frosting into a cake bag with large tip and begin covering the cake. If you don't have a frosting bag, use a heavier weight quart size storage bag. Smooth the icing over the entire cake with a knife.
Once the boat was covered in brown, I used the blue frosting. I used a larger tip and made smaller strips around the boat so that it would appear it was in water. After getting the main water surrounding the boat, I darkened the blue a tad and added the darker as an accent. I also darkened the brown a bit more and trimmed the boat using a smaller tip.
Since my son was in the Cheerio phase, I used cheerios to trim the boat. I wanted to make sure that there was something on the boat that would encourage him to reach and touch the cake. The same with the pirate ducky. The little white piece is a candy sugar stick. It was left over from Halloween candy a few months prior to his birthday.
As you can see, the pirate cake looked adorable in pictures, leaving a very memorable birthday for years to come......
And you can see.....it was definitely a smash of a good time.
Hope your pirate ship cake turns out just as nice. Pretty simple and easy to do. And I must add that I have never had any cake training, just practice and creativity in the kitchen.


No comments:
Post a Comment